


Several years ago when Pebbles At My Feet had a shop and blog on ArtFire (RIP) I published a series of three blogs on drilling tumbled stones to use in jewelry-making. The question has come up recently (June of 2023) in a beading and jewelry-making group on Facebook. I think what I wrote nine years ago is still pertinent, and decided to publish the article(s) here with some updated photos and notes. In general, the text below is what I wrote for the first article those years ago. I've made some changes today to photos, captions, and format to publish it here. Thanks for reading!
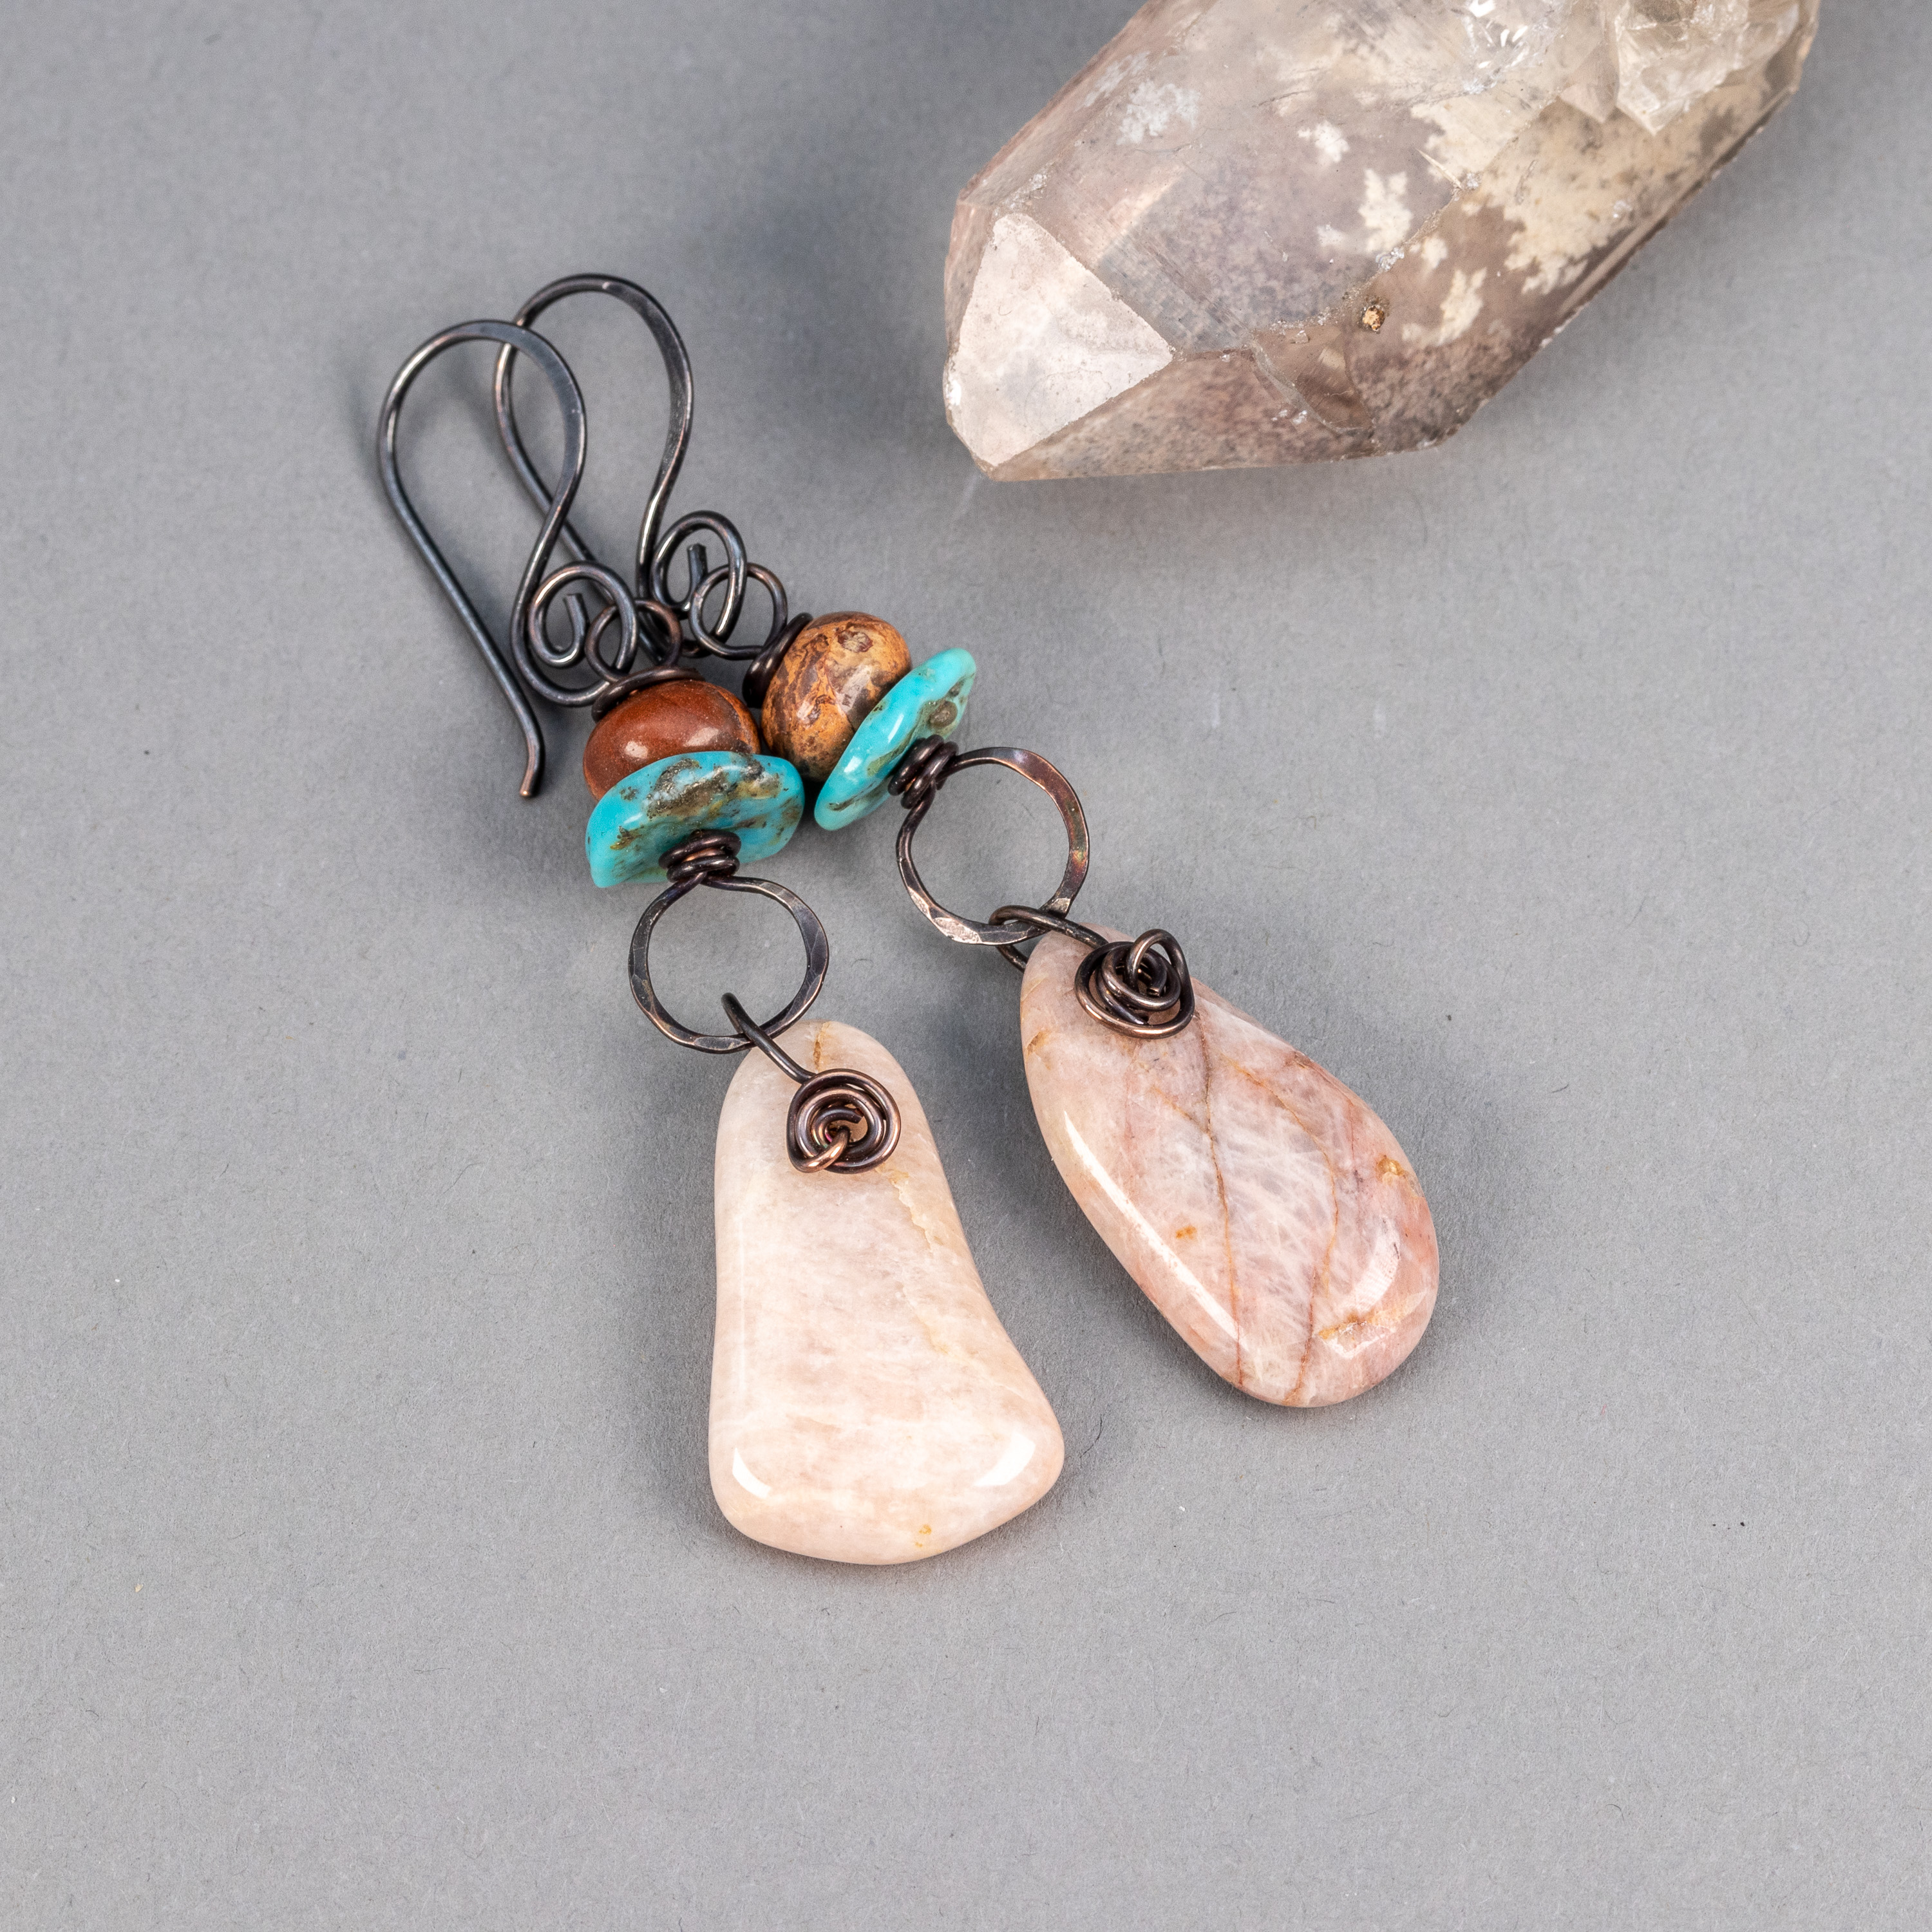
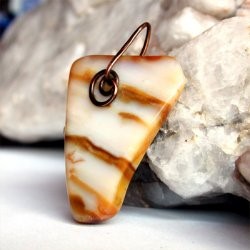
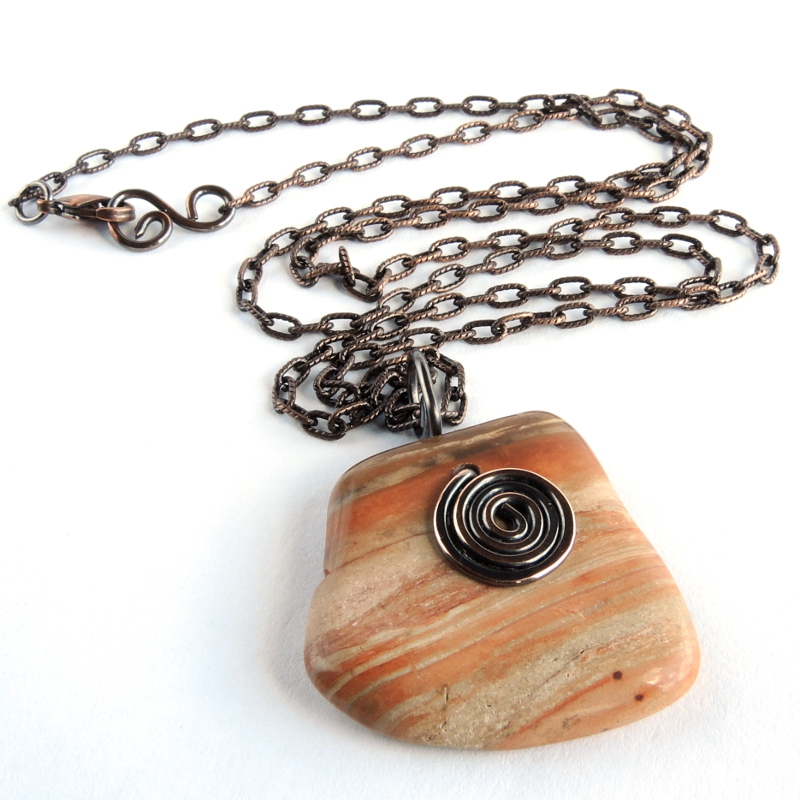
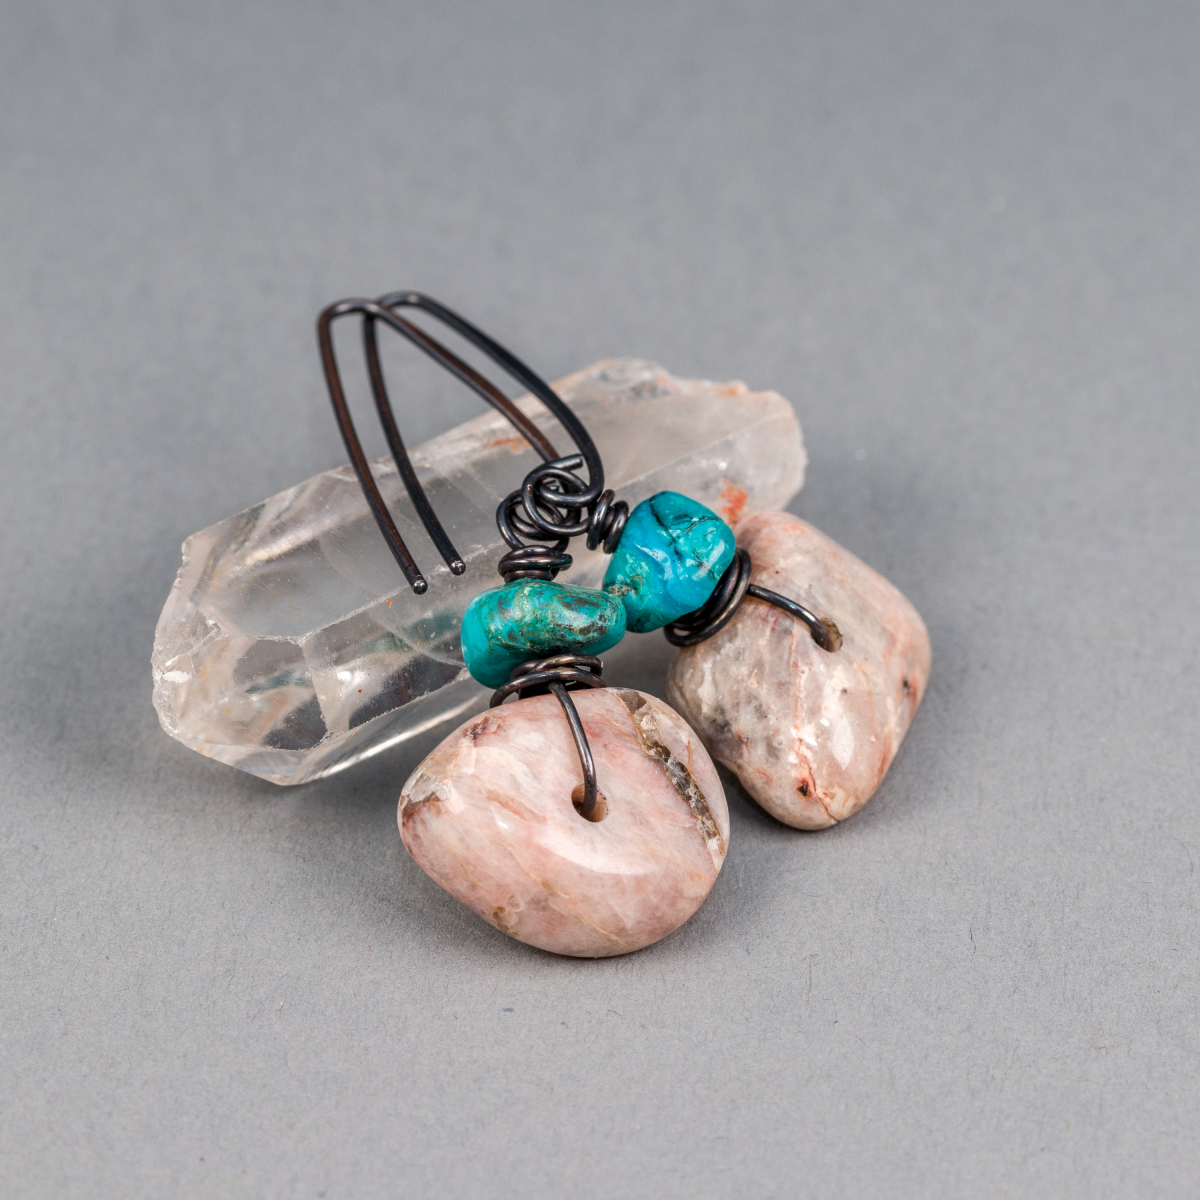
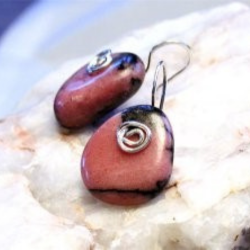
I like using tumbled stones in my handcrafted jewelry. As I wrote in an earlier post, I like their natural free form shapes and the degrees of polish possible when I process stones in the rock tumbler. For many of my artisan jewelry designs like simple pendants or my Pebbles’ earrings, the stones need to be drilled.
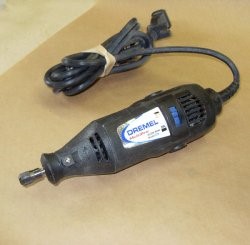
My husband and I have a full woodworking shop. However, I knew our woodworking drill press would not do for tumbled stones. You see, you don’t actually drill through a stone like wood rather you grind the stone away. It's more like drilling concrete or tile. You need to control the speed of the tool, and you need a smaller drill chuck for stones (compared to a woodworking drill press). When the bug first bit me to drill some of the tumbled stones I brought back from my childhood home, I looked to what I had at hand: a Dremel tool. The Dremel offered appropriate maximum speed (and range if I could vary it) and a variety of available useful accessories but was not enough just on its own.
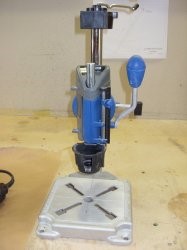
My Dremel tool stone drilling station.
My Dremel tool is a basic single-speed one. With the addition of a tool stand (around $45 from Amazon at the time) and foot control (from the household sewing machine) I’ve put together a useful stone drilling station. As a bonus, the Dremel stand is also useful to hold the tool at right angles for grinding and polishing. I use it often this way to polish silver and copper wire components for my jewelry.
The Dremel tool on the left for use as a hand tool. On the right is the Dremel stand or workstation.
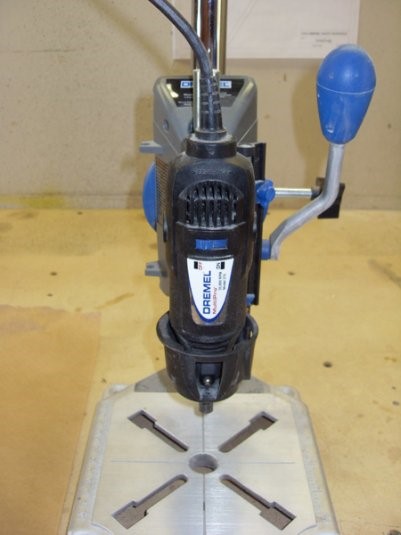
The Dremel tool mounted in the workstation. The big blue handle moves the Dremel up and down like a drill press.
Benefits of using a foot control.
The foot control allows me to have the Dremel plugged in and “on” but not spinning until I apply pressure with my foot. It also gives me speed control; light foot pressure slowly starts the Dremel and more foot pressure increases the speed of the tool until it maxes out. I can hold the stone with one hand and operate the drill plunger to bring the bit to the work with the other hand while my foot activates the tool.
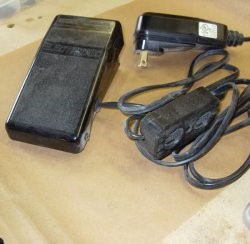
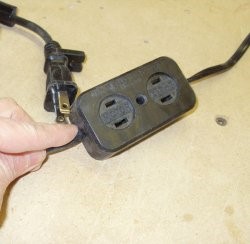
The sewing machine electronic foot control that I use in my stone drilling station. Note that the Dremel is plugged into the outlet on the control that says "motor".
Other accessories needed:
The keys to drilling through stone are using an appropriate abrasive, keeping the bit cool and free of the clogging stone dust that is generated, and having plenty of patience with your technique. I use a plastic tray that I fill with enough water to just cover my stone. I use a thick piece of leather (two pieces actually) underneath the stone to prevent drilling through my reservoir. You could use a piece of wood or plastic. You just need something to stand off the bottom of the tray that is soft so that the drill bit won’t be harmed as it breaks through the stone. I keep a water bottle handy as I work to top off the bath or to wash the drill bit from time to time. The purpose of the water bath is to keep the drill cooler and to wash the drill and the hole of the stone slurry.
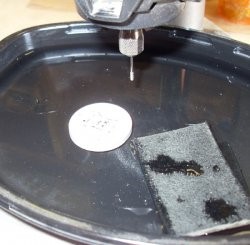
I use a plastic tray (from a frozen food entree) to hold water enough to cover the stone. Also shown is the leather pad and a plastic bottle cap that I use to hold the stones off the bottom of the tray. The leather works really well to uniformly support the stones.
A bit about (drill) bits.
The abrasive of choice for drilling stones is diamond. I have used diamond burr bits and diamond core bits. A burr bit is a solid bit with the abrasive on the face and partway up the sides. A core bit is hollow at the cutting end with abrasive on the face and inner and outer walls. Cores are generally “better” by which I mean they start a hole better and last a little longer. But be prepared: either type of bit wears out quickly with harder stones like agate or petrified wood. I get about two holes per bit in ¼-inch thick harder stones, whereas with softer stones like amazonite I might drill 5-10 holes with a bit. Diamond bits for drilling stones are available at many jewelry and lapidary supply outlets on line or in your neighborhood. I’ve purchased drills from Amazon, Mama’s Minerals, and Rio Grande.
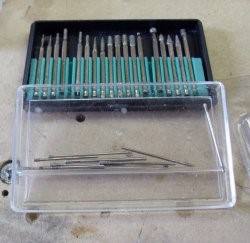
An assortment of diamond drills. A set of burrs is shown at top while a bunch of cores are shown at bottom.
Technique is everything.
What I’ve found works best is a pulsing technique. I hold my stone under water on the leather pad. I bring the bit down to the work and touch the stone. If it is cutting well, I see a plume of stone slurry begin to wash off and I hear a nice “dentist tool” sound. I touch the stone allowing the bit to grind for about one second, pull the bit up and then back down for about a second and so on like this. I feel that this prevents overheating; it washes the hole, and keeps me from putting too much pressure on the bit. If the stone slurry stops or the bit starts to “whine” it is time to change the bit. (Worn out bits can be used as grinding tools – using the abrasive on the side walls of the bit – for a time thus extending their useful life around the studio.)
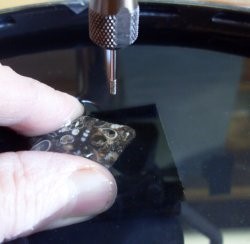
Here, I'm holding the stone under water on the leather pad. The drill bit is shown above the work. By repeatedly (and gently) bringing the drill down to the work a hole is slowly ground through the stone.
A danger with some stones such as feldspar (amazonite is a type of feldspar) is “chip out” or breaking flakes off the stone as the drill emerges on the back side of the hole. Although I can’t prevent this from happening all the time, I’ve found a few things that help.
- Drilling stones before they’ve been through the final polish or even the pre-polish step in the tumbling process.
- Embedding the stone in putty (plumbers putty is messy, but you can also use that stuff for mounting posters on the wall) on the backside to support any irregularities.
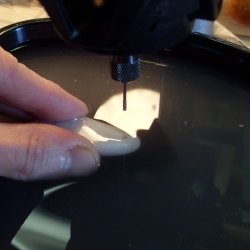
- Stopping at intervals before completing the hole to see if you can see through the stone well enough to start the hole again from the back side. This has the most success. I will often mark the drill with a sharpie at the level where I think the drill will be just about through the stone. when I reach the mark, I'll stop drilling, dry off the stone, hold it up to the light to see if I can spot the hole from the backside, and use the sharpie to mark the center of the light spot on the stone. I return the stone to the drilling station and drill from the back side. As long as I’ve carefully marked the center, the holes usually line up well.
Drilling tumbled stones is a slow process. I find it meditative most of the time. If I find that I’m getting frustrated, well, then it is time to stop. Hopefully, by that time, I’ve accumulated enough drilled stones to satisfy my jewelry making efforts for many weeks.
I hope you found this article useful or just a little bit interesting. I still drill stones from time to time, but as my metalsmithing techniques have progressed, I often opt to set stones in ways that don't require a hole be drilled. Still, there is something extremely satisfying to me to be "hands-on" throughout my jewelry-making projects, and I consider drilling stones part of my skill set.
Let me know in the comments if you learned something here. Thank you.
My artisan jewelry links and media pages:
https://www.pebblesatmyfeet.com/
https://www.etsy.com/shop/PebblesAtMyFeet
https://www.instagram.com/pebblesatmyfeet
https://www.facebook.com/PebblesAtMyFeet/
https://www.pinterest.com/pebblesatmyfeet/